Final Major Project - Texturing and Overlays
The final stages I follow are post effects, textures and overlays. Before I add any final masking and additional details I always texture and overlay, since that has been my workflow for this entire FMP. Here I tried to keep it minimal and basic, so I only kept a palette of three textures.
They consisted of grunge, dust motes and rust. Here are the palette of textures I used...

Of course I had to tailor and change the settings so they weren't as drastic and harsh on the eyes as you see here. So, what I did was free transform (tool) them to the size of the canvas and then move onto the blend options and blend mode settings.
Here are the blend modes and opacity settings I set each of these texture overlays to...

Since I am keeping that minimalistic feel to my artwork I wasn't using area-specific textures. What I mean by this is I didn't use brick textures for walls even though it is a brick-wall. This could be something I really let show when I come to model if I have time to.
The dust particles were far to saturated and bright, so here are the settings after I changed them...

Finally here is a progression (gif) of each layer being added onto step by step...

Finally, here is the final piece with all added textures and effects...
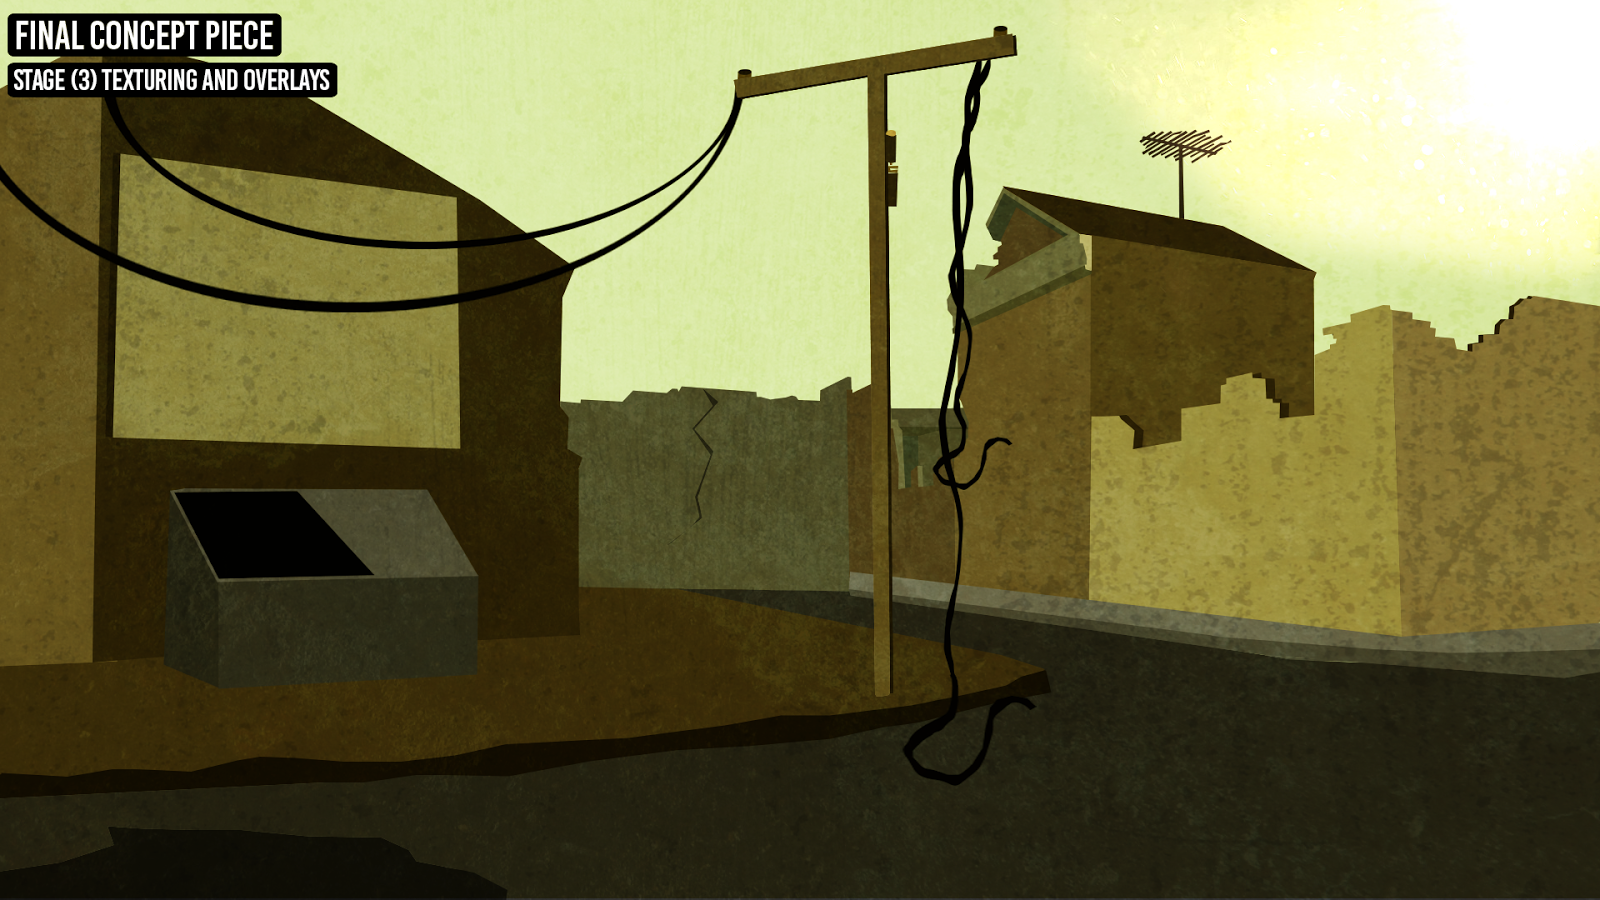
The next and final step to completing the final concept piece and moving forward to modelling an asset would be to review and decide if anything needs to be changed or added.
No comments:
Post a Comment