Final Major Project - Recolouring and Lighting Alteration
Before I finish up this concept piece and finalize everything in the piece I needed to alter the colour of the piece. I felt as though it was too bright, therefore I altered the darkness of the piece through use of colour overlays, curves and brightness effects/filters.
Here is the recoloured version of the final concept piece.

This really does embody the look and feel of what I wanted. I wanted this, desolate, murky and ruined village since that shows some sign of abandonment and neglect but I have tried to keep true to not only my art style but also the back story. So I was very determined to keep this basic and simple.
Here is the comparison of the original and then the recolour...
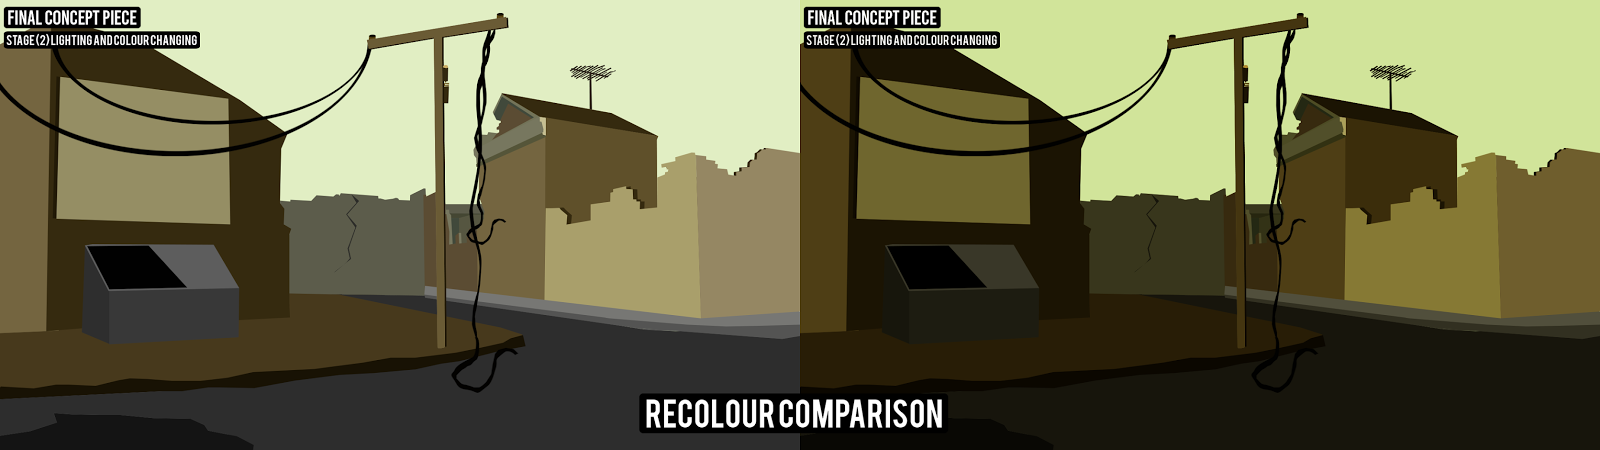
I went through some small, minor alterations to get this result, most of which were basic colour changes and filters. I added a colour overlay, which I then changed through layer settings and then finally I altered the curve and brightness settings. Below are screenshots of these settings.


Although I chose a dark brown to offset the piece, it was still far too light. Only way of changing this was too alter the curve settings and change the negative correlating point towards the black. This ultimately gave me that 'dingy and grungy' look to the entire piece.

I changed the layer blend mode to soft light since the murky brown was an overlaying colour it completely covered the piece and nothing of the masking and previous work was visible. Soft light dropped the opacity enough to make all underlying layers visible so much so I didn't need to alter the opacity what so ever. Having that said, as you can see, I left the opacity at 100%.
Below is a progression screenshot of the process I went through...

No comments:
Post a Comment